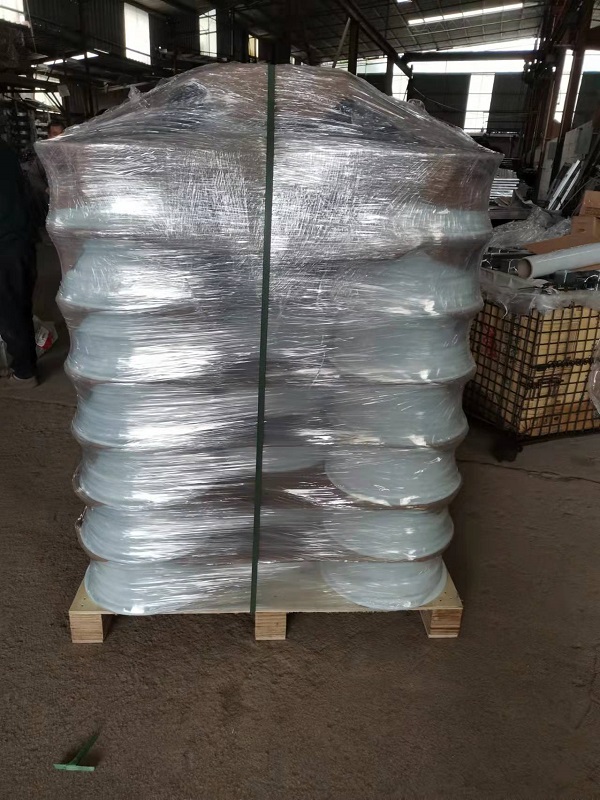
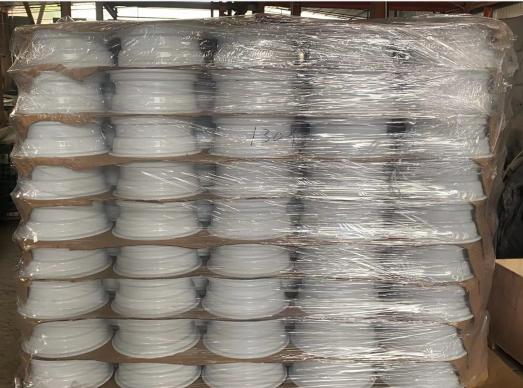
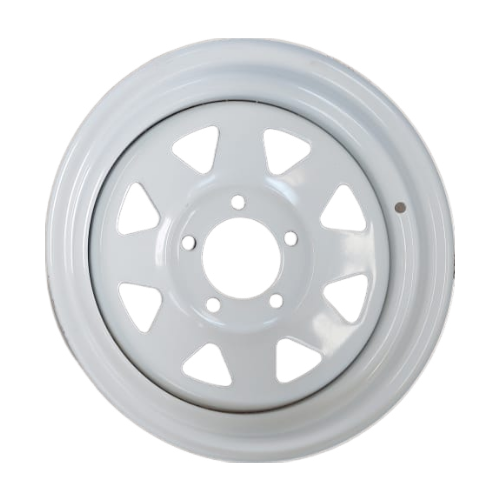
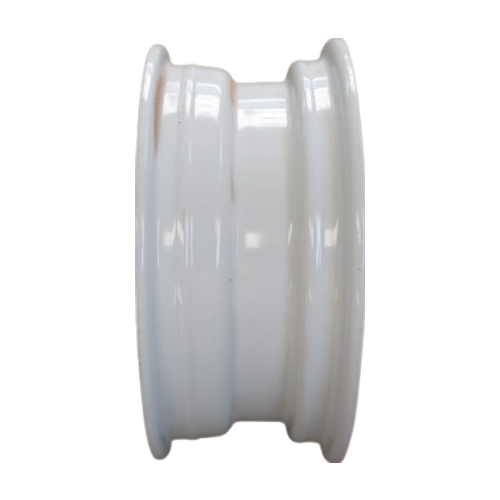
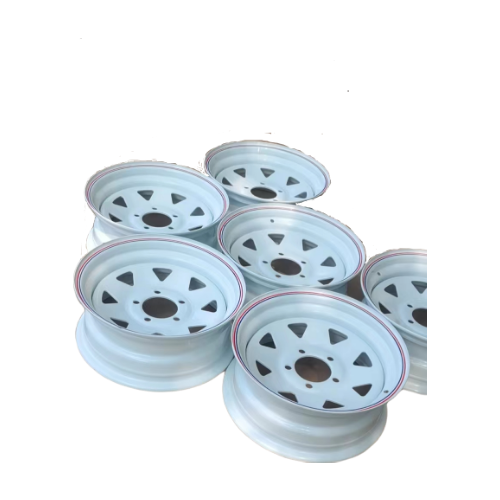
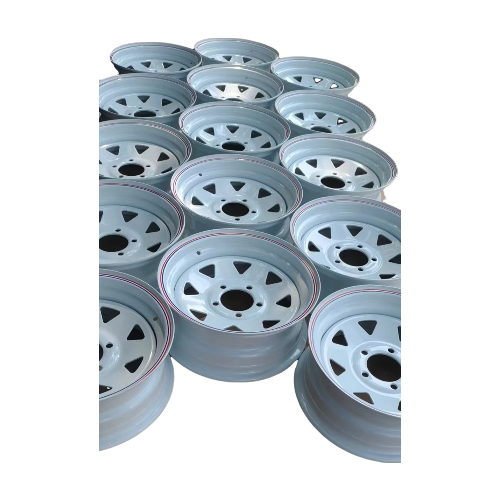
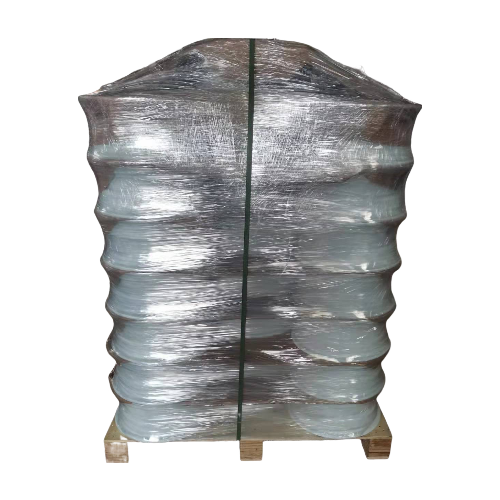
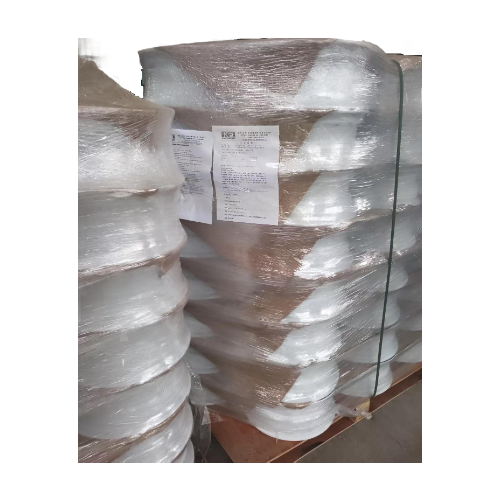
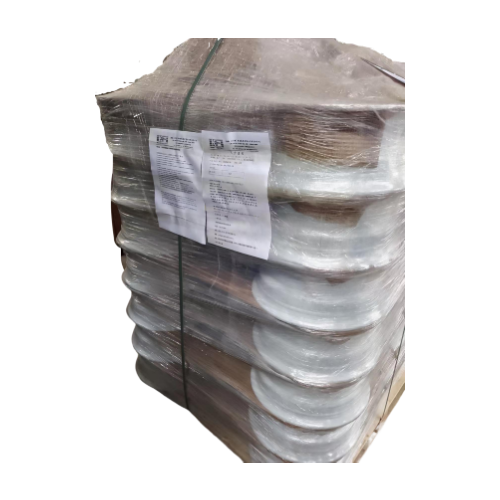
E-Coating Trailer Tyre
1. Durability: Trailer rims are designed to withstand heavy loads and harsh conditions such as off-road terrain or long-distance travel. They are typically made from reinforced steel or aluminum alloy, providing excellent strength and resistance to impacts.
2. Load-bearing capacity: Trailer rims are designed to support the weight of the trailer and its cargo. They are often rated for specific weight capacities, ensuring that they can handle the load without the risk of bending or warping.
3. Compatibility: Trailer rims come in different sizes and bolt patterns, making them compatible with various trailer types and models. This allows for easy replacement or upgrading of rims to suit specific trailer needs.
4. Ease of maintenance: Trailer rims are generally easy to clean and maintain. They are usually coated with protective finishes, such as powder coating or chrome plating, to prevent rust and corrosion. Regular cleaning and inspection can help prolong their lifespan.
Trailer rims are the circular metal components that attach to the axle of a trailer and hold the tires in place. They come in various sizes and styles to fit different trailer models and towing needs. When choosing trailer rims, it's important to consider factors such as load capacity, bolt pattern, and wheel size to ensure a proper fit for your trailer. It's also a good idea to check with the manufacturer or consult a professional to determine the best rim specifications for your specific trailer.
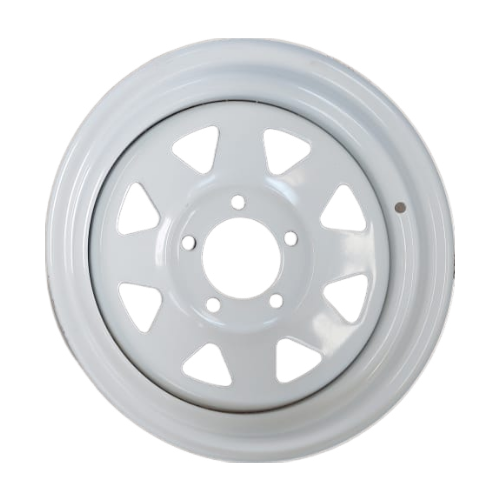
Trailer Rims Features:
1.Size: Trailer rims come in various sizes to fit different types of trailers. Common sizes include 13-inch, 14-inch, and 15-inch rims.
2.Load Capacity: Trailer rims are designed to handle heavy loads. They have a load capacity rating which indicates the maximum weight they can safely support.
3.Bolt Pattern: Trailer rims have a specific bolt pattern that determines how they attach to the trailer axle. Common bolt patterns include 4-lug, 5-lug, and 6-lug.
4.Construction Material: Trailer rims are usually made from durable materials like steel or aluminum to withstand the demands of towing heavy loads.
5.Finish: Trailer rims often come with a protective finish to resist corrosion and rust. They can be painted, powder-coated, or have a chrome finish.
6.Center Bore Diameter: The center bore diameter refers to the hole in the center of the rim. It needs to match the hub diameter of the trailer axle for a proper fit.
7.Offset: The offset determines how far the rim sits from the trailer's hub face. It affects the stance and stability of the trailer.
8.Style: Trailer rims come in various styles and designs, ranging from simple and functional to more visually appealing options.
9.Brand and Warranty: Different brands offer trailer rims with varying levels of quality and warranty coverage. It's important to choose a reputable brand and consider the warranty provided.
10.Price: Trailer rims are available at different price points, so you can find options that fit your budget.
To use trailer rims, follow these steps:
1.Determine the correct size: Measure the diameter and width of your trailer's existing rims or consult the trailer manufacturer's specifications to determine the appropriate size for replacement rims.
2.Gather the necessary tools and materials: You will need a lug wrench or socket wrench, a jack, and a new trailer rim that matches the correct size and specifications.
3.Prepare the trailer: Ensure the trailer is parked on a level and stable surface. Engage the parking brake and place wheel chocks behind the tires to prevent it from rolling.
4.Lift the trailer: Use a jack to lift the trailer off the ground, ensuring the weight is evenly distributed. Consult your trailer's manual for specific instructions on where to place the jack.
5.Remove the existing rim: Use a lug wrench or socket wrench to loosen and remove the lug nuts that secure the rim to the hub. Once all the lug nuts are removed, carefully pull the rim off the hub.
6.Install the new rim: Place the new rim onto the hub, ensuring that the bolt holes align with the lugs on the hub. Insert the lug nuts and hand-tighten them until snug.
7.Tighten the lug nuts: Use the lug wrench or socket wrench to fully tighten the lug nuts in a star or crisscross pattern. This helps evenly distribute the torque and ensures the rim is properly secured.
8.Lower the trailer: Carefully lower the trailer back down to the ground using the jack.
9.Finalize the installation: Double-check that all the lug nuts are securely tightened. Remove the wheel chocks and disengage the parking brake.
10.Inspect and test: Inspect the new rim for any signs of damage or defects. Take the trailer for a test drive at a low speed to ensure the rim is functioning properly and securely.
